Lattice Fence for
Privacy Trellis
& Vines
Brug Blog 01.2014
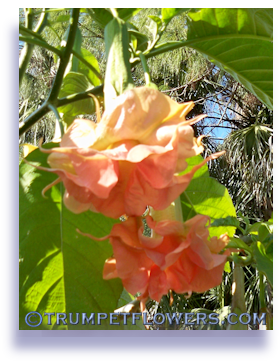
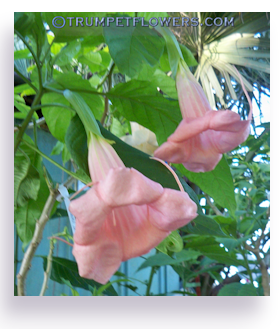
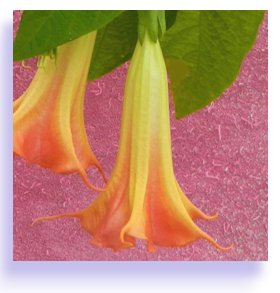
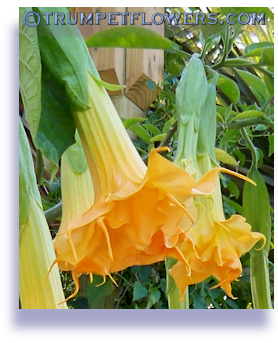
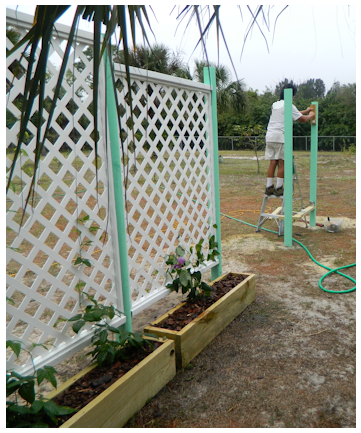 I need a backdrop to my Brugmansia kingdom. My Angel Trumpets will look best if I can define the space, instead of allowing it to ramble onwards. So to give my Angel babies their best appeal, I had my darling husband install a plan of mine. Lattice panels that stand upright, to be used for privacy and space definition. With the height comes the promise of a perfect growing condition for two new vines I acquired last year, Dalechampia dioscoreifolia and vigna caracalla.
To digress, this reminds me of when I told him to start digging foundation for the screenhouse. I had spent two years contemplating the exact site. Watching the rains of summer settle into riverlets and tiny valleys, the sun of summer and how he shined and bore down, and the almost totally open space had led me to believe the spot I chose would be perfect. I knew it needed some fill, the area was low and the sand was sugar. But the sunlight, can I use rain barrels, distance from our property line fence and accompanying neighbor's pines, the available old growth palms nearby, made me realize the spot I finally laid sites upon would suit me well. And it has. Even Gino has commented upon several occassions how idyllic the area I did finally decide upon is.
And so the project begins. After measuring a spacing distance of 4 feet and squaring the line, he dug 3 foot deep holes with a post hole digger at each 4 foot measure. He then sank 10 foot long pressure treated fence posts and poured concrete into the holes to stabilize. Before the concrete could set up, he made sure the posts were vertically and horizontally level. The posts were allowed to cure in the concrete overnight.
The next day he painted the posts a mint green. Very appealing. While that paint dried, he painted firring stips white, as a contrast to the mint. These will hold in the plastic trellis panels.
Now to cut the trellis. I want a staggered height, with the center panel of three being the tallest. Using a table saw, he cut the panels to their appropriate lengths, and set them aside. He then screwed a painted and pre-cut 2 X 4 to the bottom and top of two posts, to create the horizontal lock in for the trellis. Two vertical and two horizontal firring strips were screwed into one side of the posts. This will lock in the panels. A 12 inch gap is left from the ground so that flower boxes can be placed there.
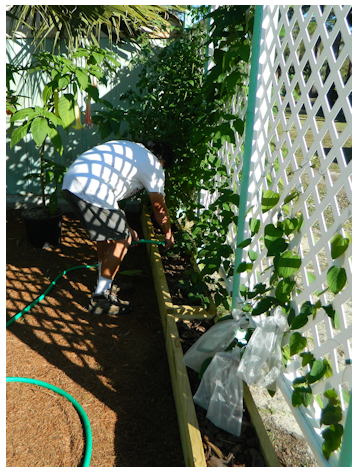 The trellis panels were then inserted. Firring strips were vertically and horizontally installed to the other side of the trellis, completing that panel. He locked them in using this trick. See pictures below.
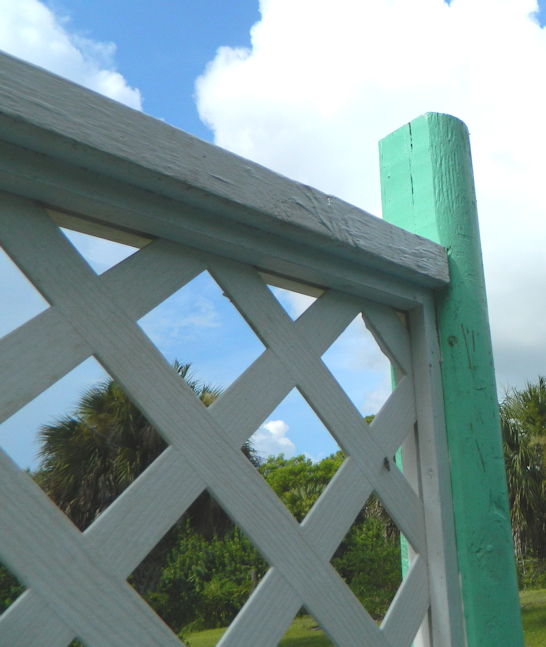
This is a corner of one of the top of the trellis panels. See how there is a firring strip on each side? This locks in the plastic trellis. He screwed into the firring strips to go through the plastic trellis and further strengthen them. You can't see the screw heads here, as he had already painted them white.
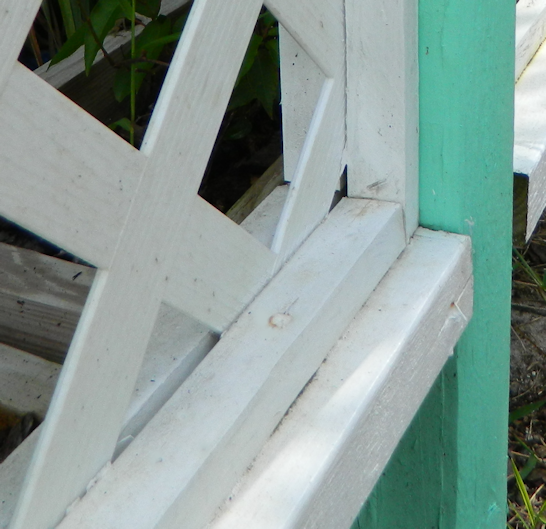
This is one of the bottom corners, to show again how he locked the plastic trellis panels in.
We had been pricing out flower boxes, and came to the conclusion it was much cheaper to just make the raised beds ourselves. He purchased five 8 inch wide by 8 foot long pressure-treated boards for the task. I wanted 12 inch tall wood, but they were out of it so we ended up with the 8 inch tall board instead. The boxes will be 8 inches wide, and just under the 4 feet width of the panels. He cut the boards accordingly, and screwed them together. It will be a month before he can paint them, as the wood is new and the sap must dry. I want a pickling effect in mixed green and white for the boxes. Pickling is kind of like staining, only it is a paint that is applied and then wiped off before it can dry. A very beautiful effect.
After all of the flower boxes are in, he will come back and cut the tops of the posts level, and place on top of each a squared base solar lamp. The effect will be beautiful!
The last flower box will have an L shape, because of the right angle of the last two panels. In this box I am going to grow some vegetables this winter. Arugula and Boston Lettuce come to mind.
Vigna caracalla, or corkscrew vine, will occupy one of trellis panels, and one panel will hold the bowtie vine, otherwise known as dalechampia dioscoreifolia. The third will house our juicy cherry tomatoes. When the tomatoes and lettuces are finished, I will plant vigna phaseolus, or purple snail vine, and more vigna caracalla.
After those plants grow a bit, I'm going to move them, and use these beds to grow tomatoes, alternating with herbs and melons, cukes.
The entire project took about 1 week to complete. Poor thing always has a 'Honey Do List,' so is between assignments most of the time. But he doesn't mind, he loves the results as much as I do.
Tags: gardening, raised beds, raised garden bed, florida, build a privacy trellis, fencing for trellis, lattice, diy lattice, privacy fence, vines, lattice, brugmansia, gardening, brugmansia blog, gardening blog, vigna caracalla, dalechampia, trellis, vines, vigna caracalla, bowtie vines,
