Starting With Seeds
 So it's the dead of winter, you're stuck inside in the stuffy hot and dry house and thumbing through plant and seed catalogs. Your friend next door has given you the garden bug, and you think you're ready to give it a whirl. Well here is a short but thorough seed starter tutorial to get you on the right track.
If you want to have success with seeds, you have to begin with good quality seeds from the get-go. Seeds, like every other living thing, have a lifespan, or optimum viability time. Choosing fresh, strong viable seed will bring promise of at least germination success, which in itself is a feat well done with some of the harder species and cultivars. There are several methods for testing the viability of seeds, if you are not sure how old, or how good, the seeds may be.
The Seed Roll Test will give you an accurate reading of about how much of a batch of seeds will germinate. You start by folding a paper towel in half, (for large seeds) or into thirds if the seeds are smaller. Now lay out exactly 10 seeds in two rows, keeping them about 2 inches from the edge of the paper towel. Roll up the paper towel, and now secure it with two twist ties, those wire ones that come on the bread. Place the end without the seeds into a glass that you have added a small amount of clean water to. The paper towel will absorb the water and dampen your seeds without drowning them. After the germination period has passed for the particular type of seed you are trying to germinate, unroll the paper towel and count how many actually began to sprout. If 8 sprouted, you'll have an 80 percent germination rate with the remaining seeds. If only 3 sprouted, your success rate is down to only 30 percent, and so on.
Chipping with nail clippers a corner of a hard seed coat, or scratching with an emery board like the ones used for your fingernails until you just see the seed inside can help with getting the seed soaked. Place the chipped or scratched seeds into water and wait for them to swell. This will help get your seeds ready for planting into soil.
Some seed starters even go so far as to completely remove the seed coat. This is easier done after a good soaking, and is a delicate process. If the two part seed comes apart, it will not grow. I opt to not completely remove mine, just because I tend to be more of a bull in a China Shop.
Prepare to plant your seeds by starting with a great quality seed sprouting soil. You can easily make your own soil∼less mix, or buy a prepared mix from Lowes or the like. Seeds are delicate, and you won't want the mixture too heavy. If it is, the seeds may drown in water, or not get enough air circulation in the soil to allow for the ahirline roots to begin. A light, loamy well balanced mixture will be sure to show success.
There's also a little trick used by seasoned gardeners on how deep to plant a seed. They use the rule of thumb of size of seed. If your seed is 1 inch long and 1/2 inch wide, plant it about 1/2 to 3/4 of an inch deep. A 1/4 inch seed, plant 1/4 inch deep, and so on. This is just a basic rule, and does not apply to all seeds, but works well if you don't know the proper planting depth of your particular seeds.
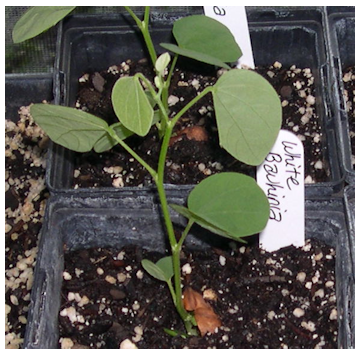
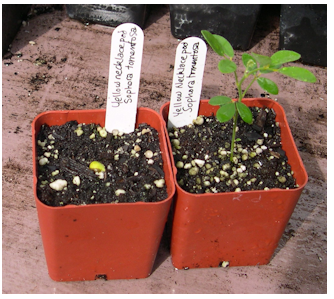
 After planting the seeds, waiting for the approximate germination time for that seed can be the most grueling of all. I check mine every day, trying to stay patient while awaiting their little green 'crooked neck' that is the stem appearing above the soil line.'
After they are up, water carefully and protect from harsh climate a month or so until they are strong enough to withstand. Rainwater is good if you have it. Do not use fertilizers on new seedlings! It could burn them. A seed is a capsule that has all the elements within it to help the little plant get started, so Mother Nature has already provided some food for the young plant. The smaller the seed, usually the less amount of food storage it has, but also the easier it is to burn with fertilizer. Give the plant at least a month before adding 1/2 strength common fertilizer to it. A liquid form is good. Within 3 or 4 months, the plant would be strong enough to take on regular fertilizing at the rate needed for it's species.
Insects like cutworms and snails can devastate young seedlings, killing them within one night. Stop these pests by placing aerosol can lids over them during the nights. Make sure the seedling does not touch the top of the cap (discontinue using the caps when they are too tall) and that you remove them promptly in the morning, so the seedling can be exposed to sunlight, but not cook under the plastic dome of the aerosol can lid.
Tags: grow plants from seeds, plants from seeds plants from seeds,


